Resource Invoice
Workflow.
Keeping up with resource invoices
If your company works with freelancers or external contractors, you know the drill. A project completes, the resource sends an invoice, someone checks the amount against what was agreed, it gets approved, it waits on the pay list, and eventually it is paid. Simple enough in theory — but when you have dozens of assignments running in parallel, the manual overhead adds up quickly.
Cannelle handles the full cycle: from completed assignment to approved invoice to SEPA payment — in one place, with no spreadsheets required. Here is how it works.
Uninvoiced assignments
Every assignment that reaches the Completed state is automatically tracked as uninvoiced until a resource invoice is registered against it. You find them under Resource Invoices → Uninvoiced.
The list shows the purchase order code, the task description, the resource name, the assignment type, the agreed amount, and the due date. Nothing gets forgotten — as long as an assignment is completed and has no invoice attached, it stays in this list.
If a resource worked on several assignments in the same period, you can combine them into a single invoice. Fewer documents to track, fewer payment lines to reconcile — and easier for the resource too, since they only need to issue one invoice covering all the work.
Every invoice retains the link back to the original assignments and projects it covers. That means your cost reports can break down spending by project or client — not just by resource — giving you a much clearer picture of where your money actually goes.

Registering an invoice
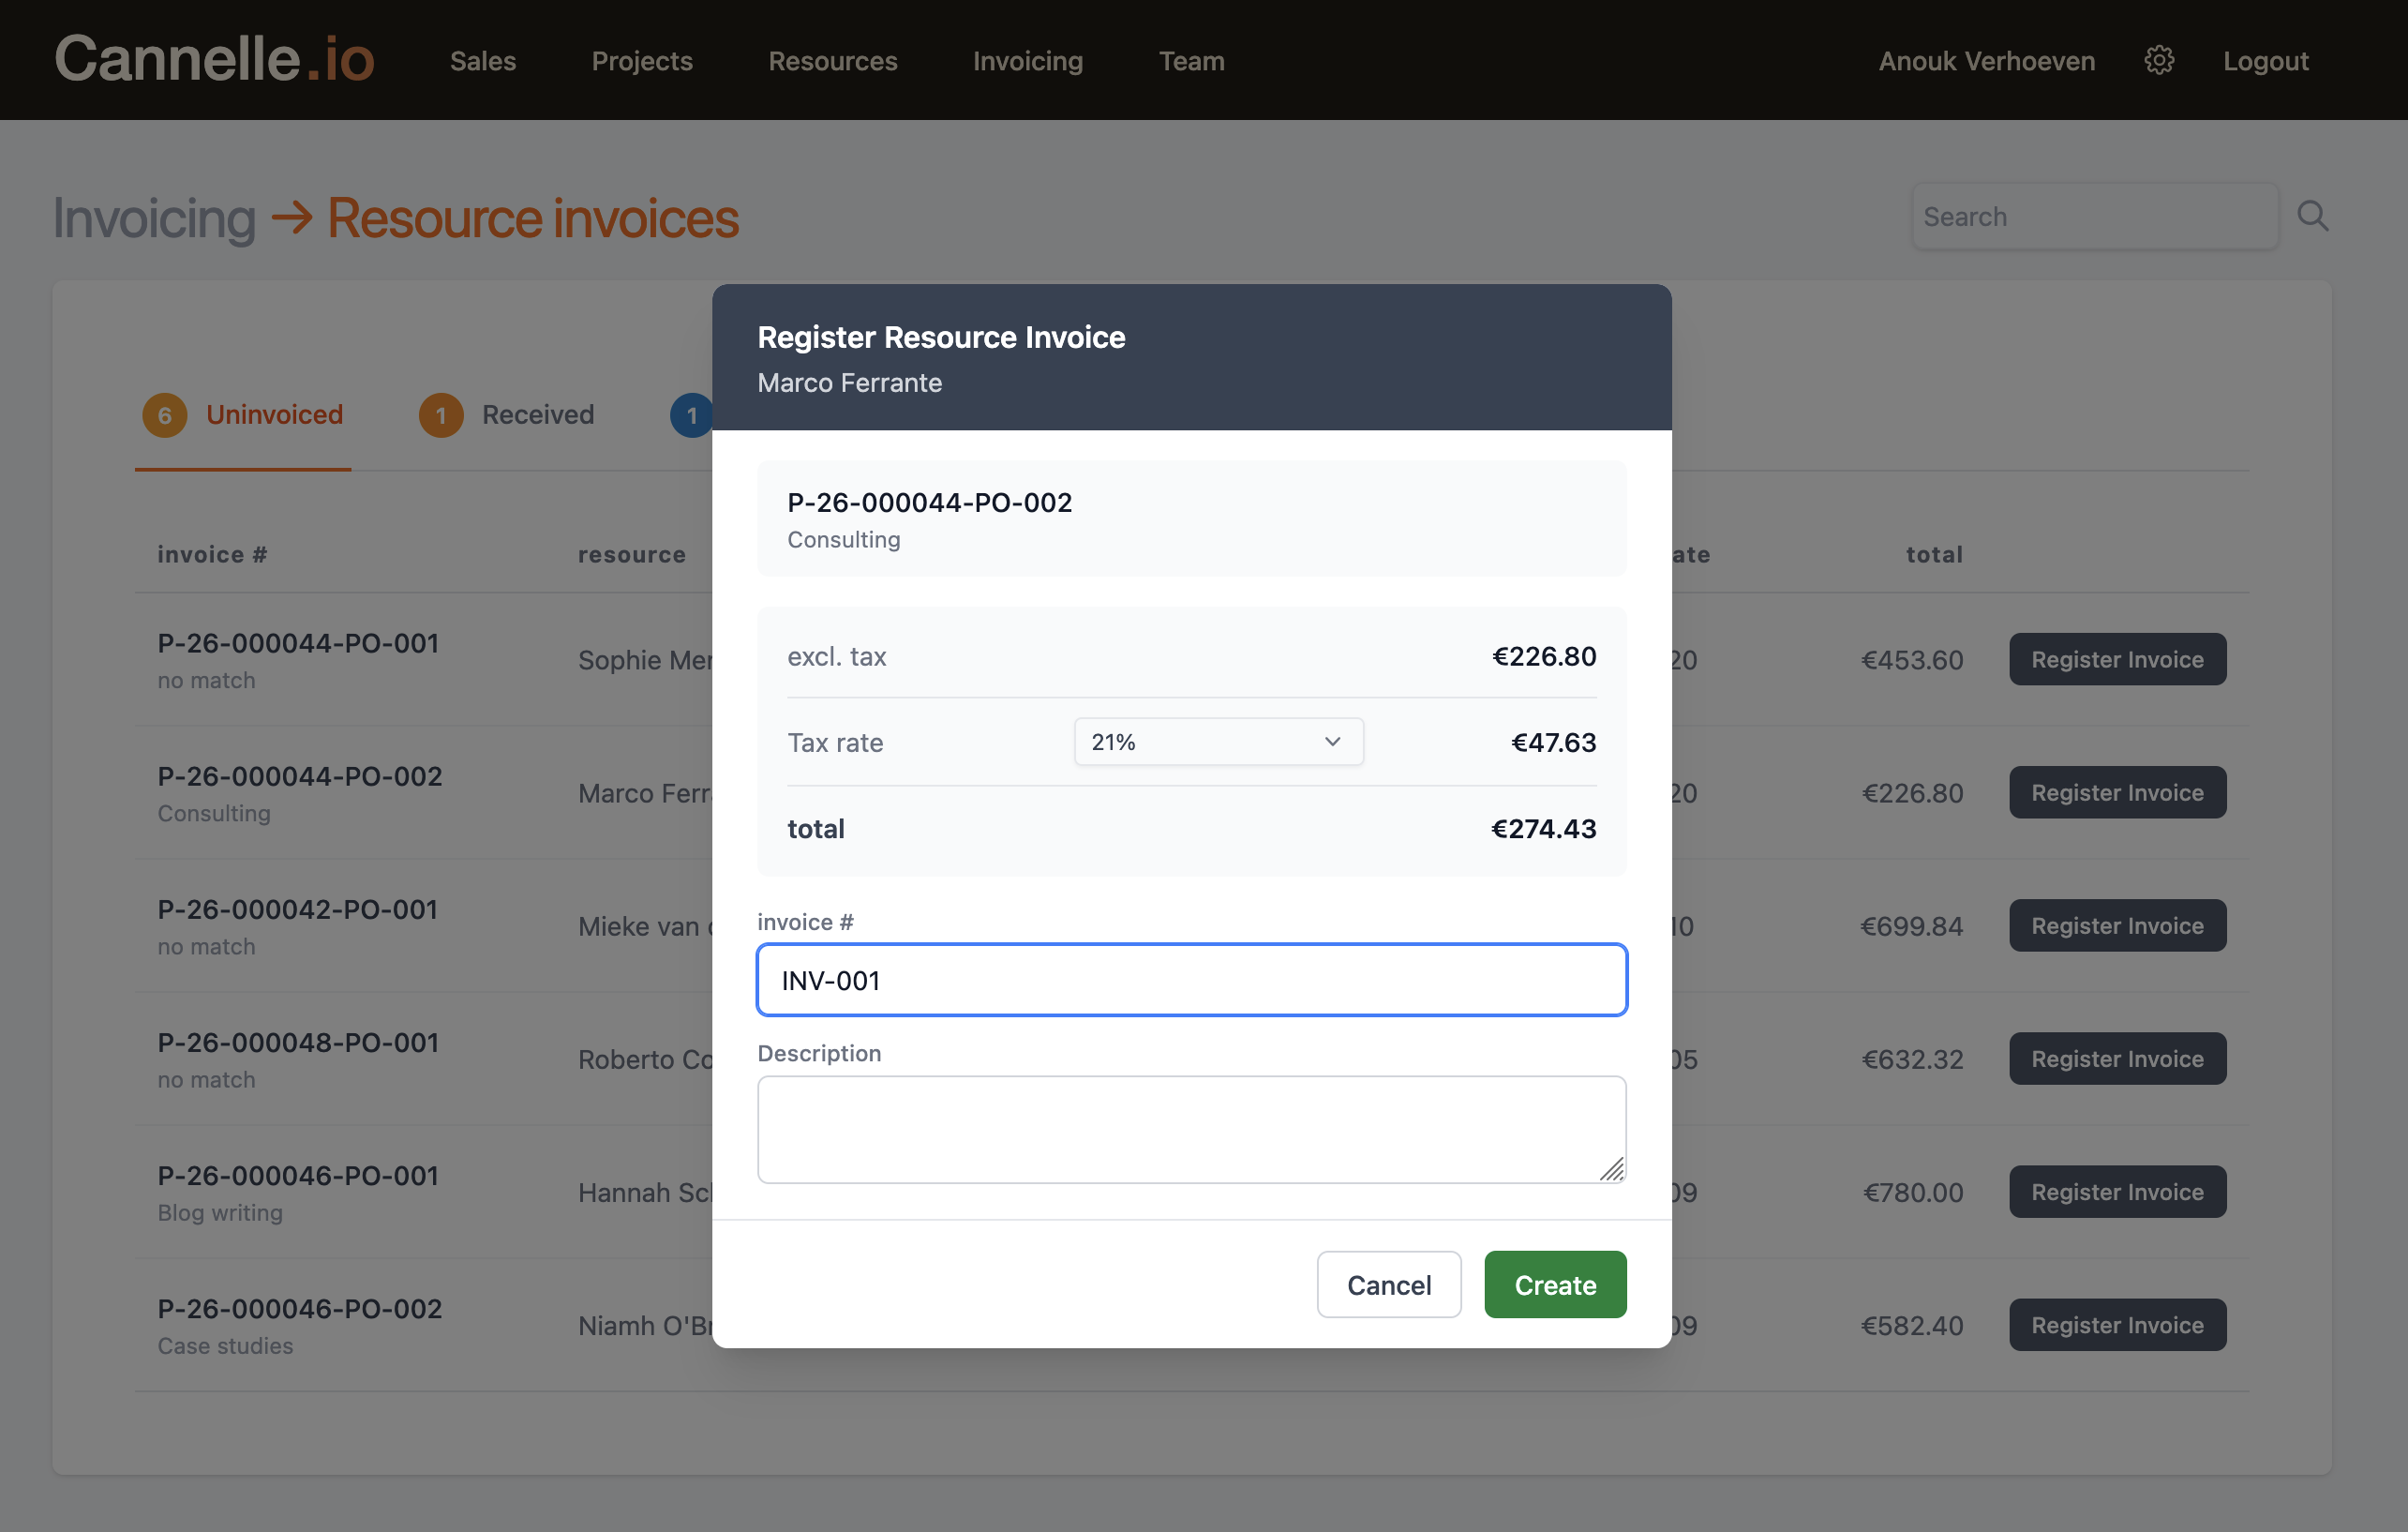
When a resource sends you an invoice — by email, post, or any other channel — the person handling it clicks Register Invoice on the relevant row. A modal opens pre-filled with the assignment value, the resource's name, and the applicable tax rate based on the company's country settings.
You can adjust the tax rate if needed, add the invoice number from the document the resource sent, and optionally add a short description. The totals — excl. tax, VAT, and incl. tax — update instantly as you make changes. When everything looks right, click Create.
The assignment moves out of the Uninvoiced list and the invoice appears under Received, ready for approval.
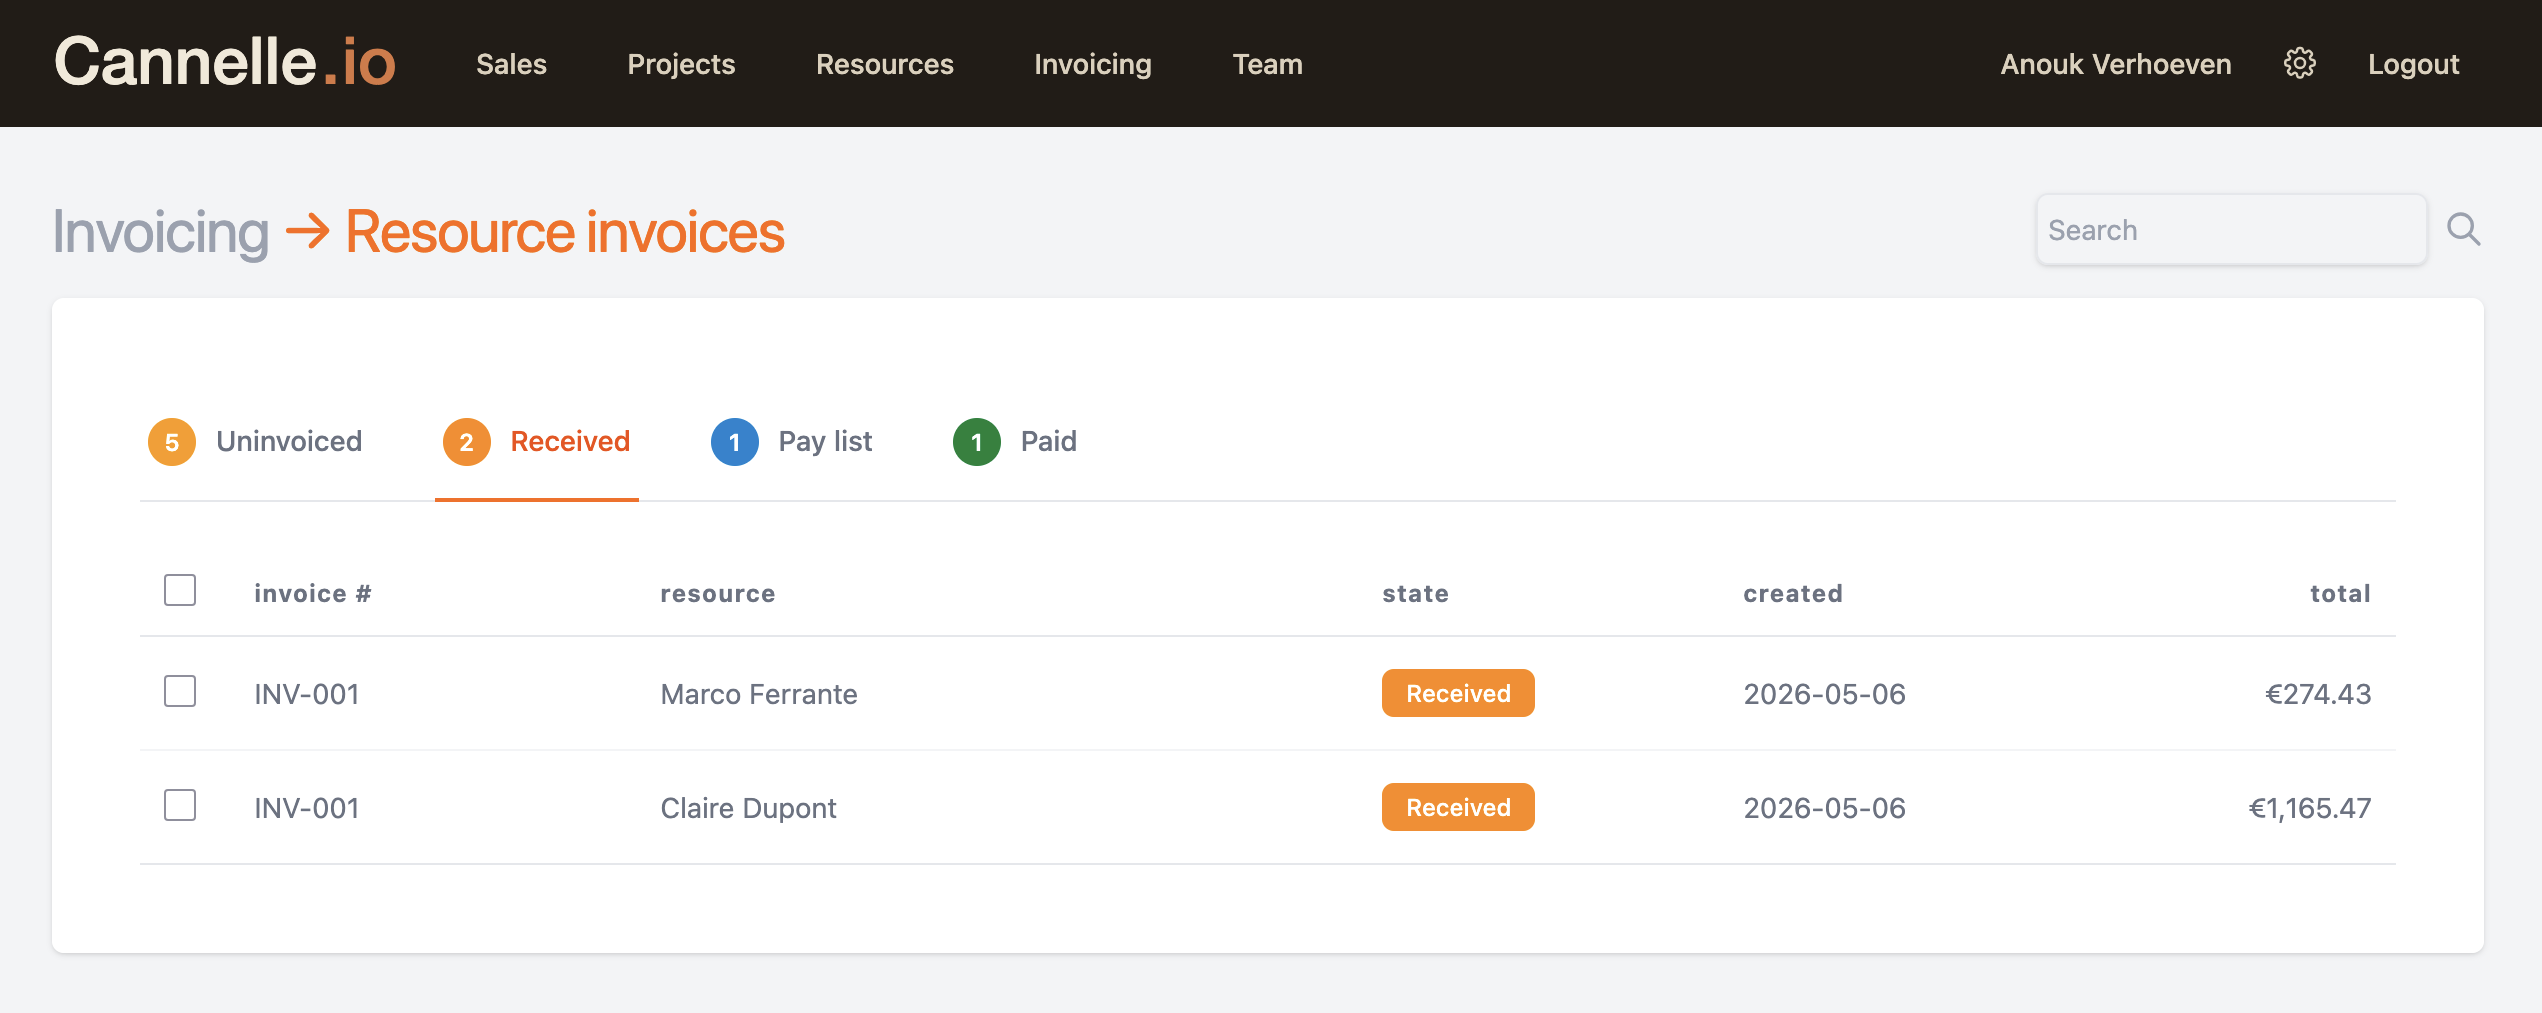
Received and approval
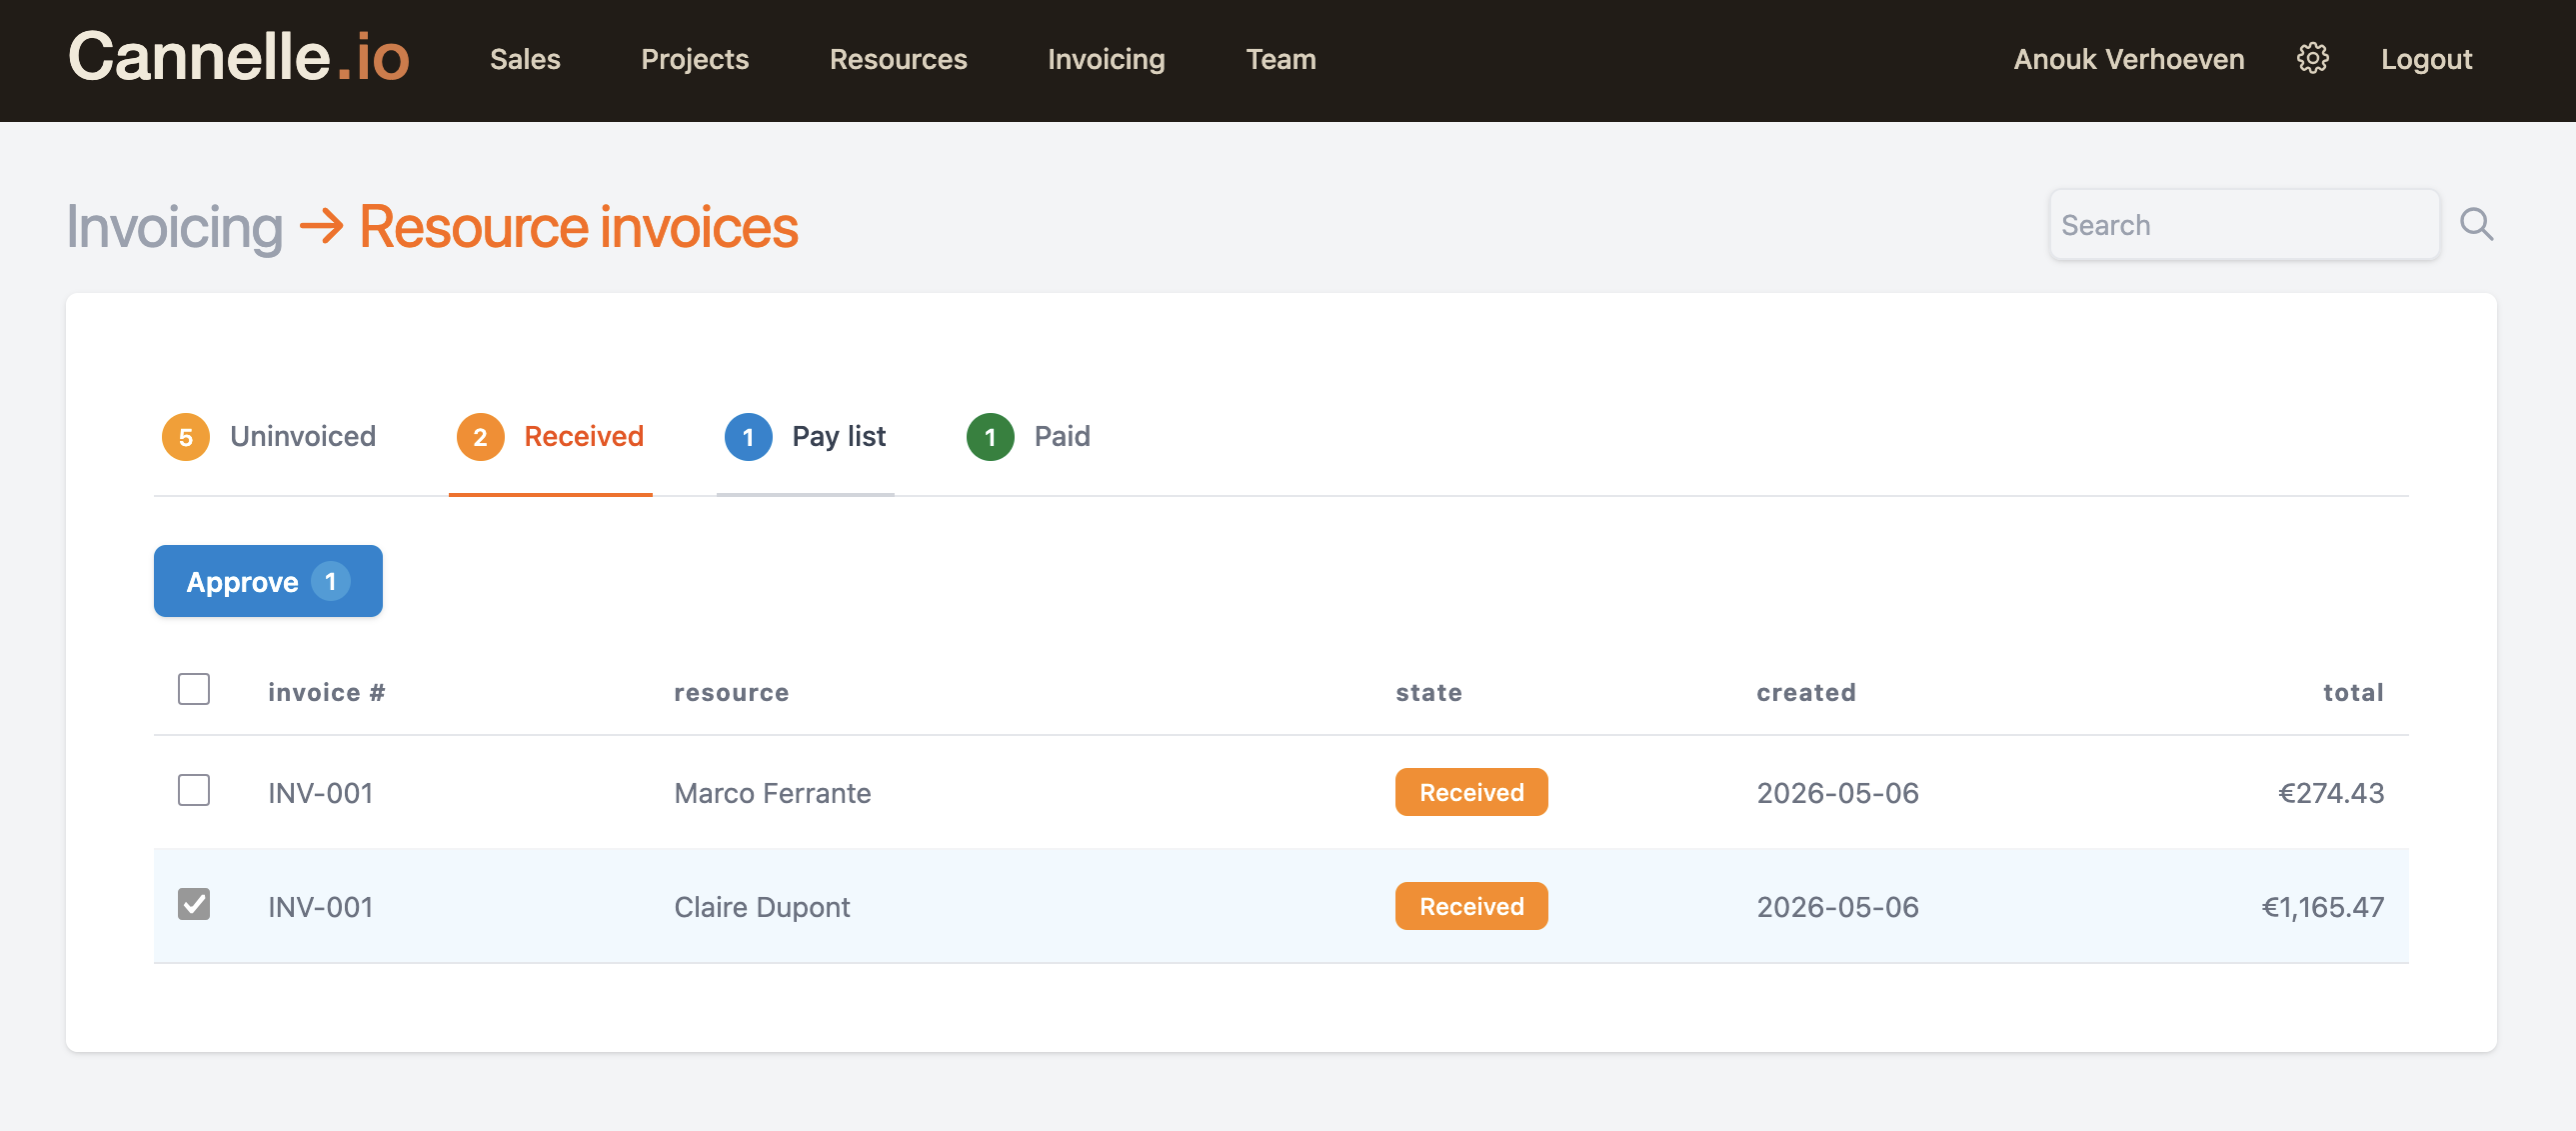
The Received tab is where invoices wait for a second pair of eyes. A project manager or finance person reviews each one, confirms the amount matches the agreed rate, and approves it. You can approve invoices one at a time or select multiple and approve them in a single action.
Once approved, an invoice moves to the Pay list. Invoices that are disputed or need correction stay in Received until they are sorted out — nothing gets lost in an email thread.
Pay list and export
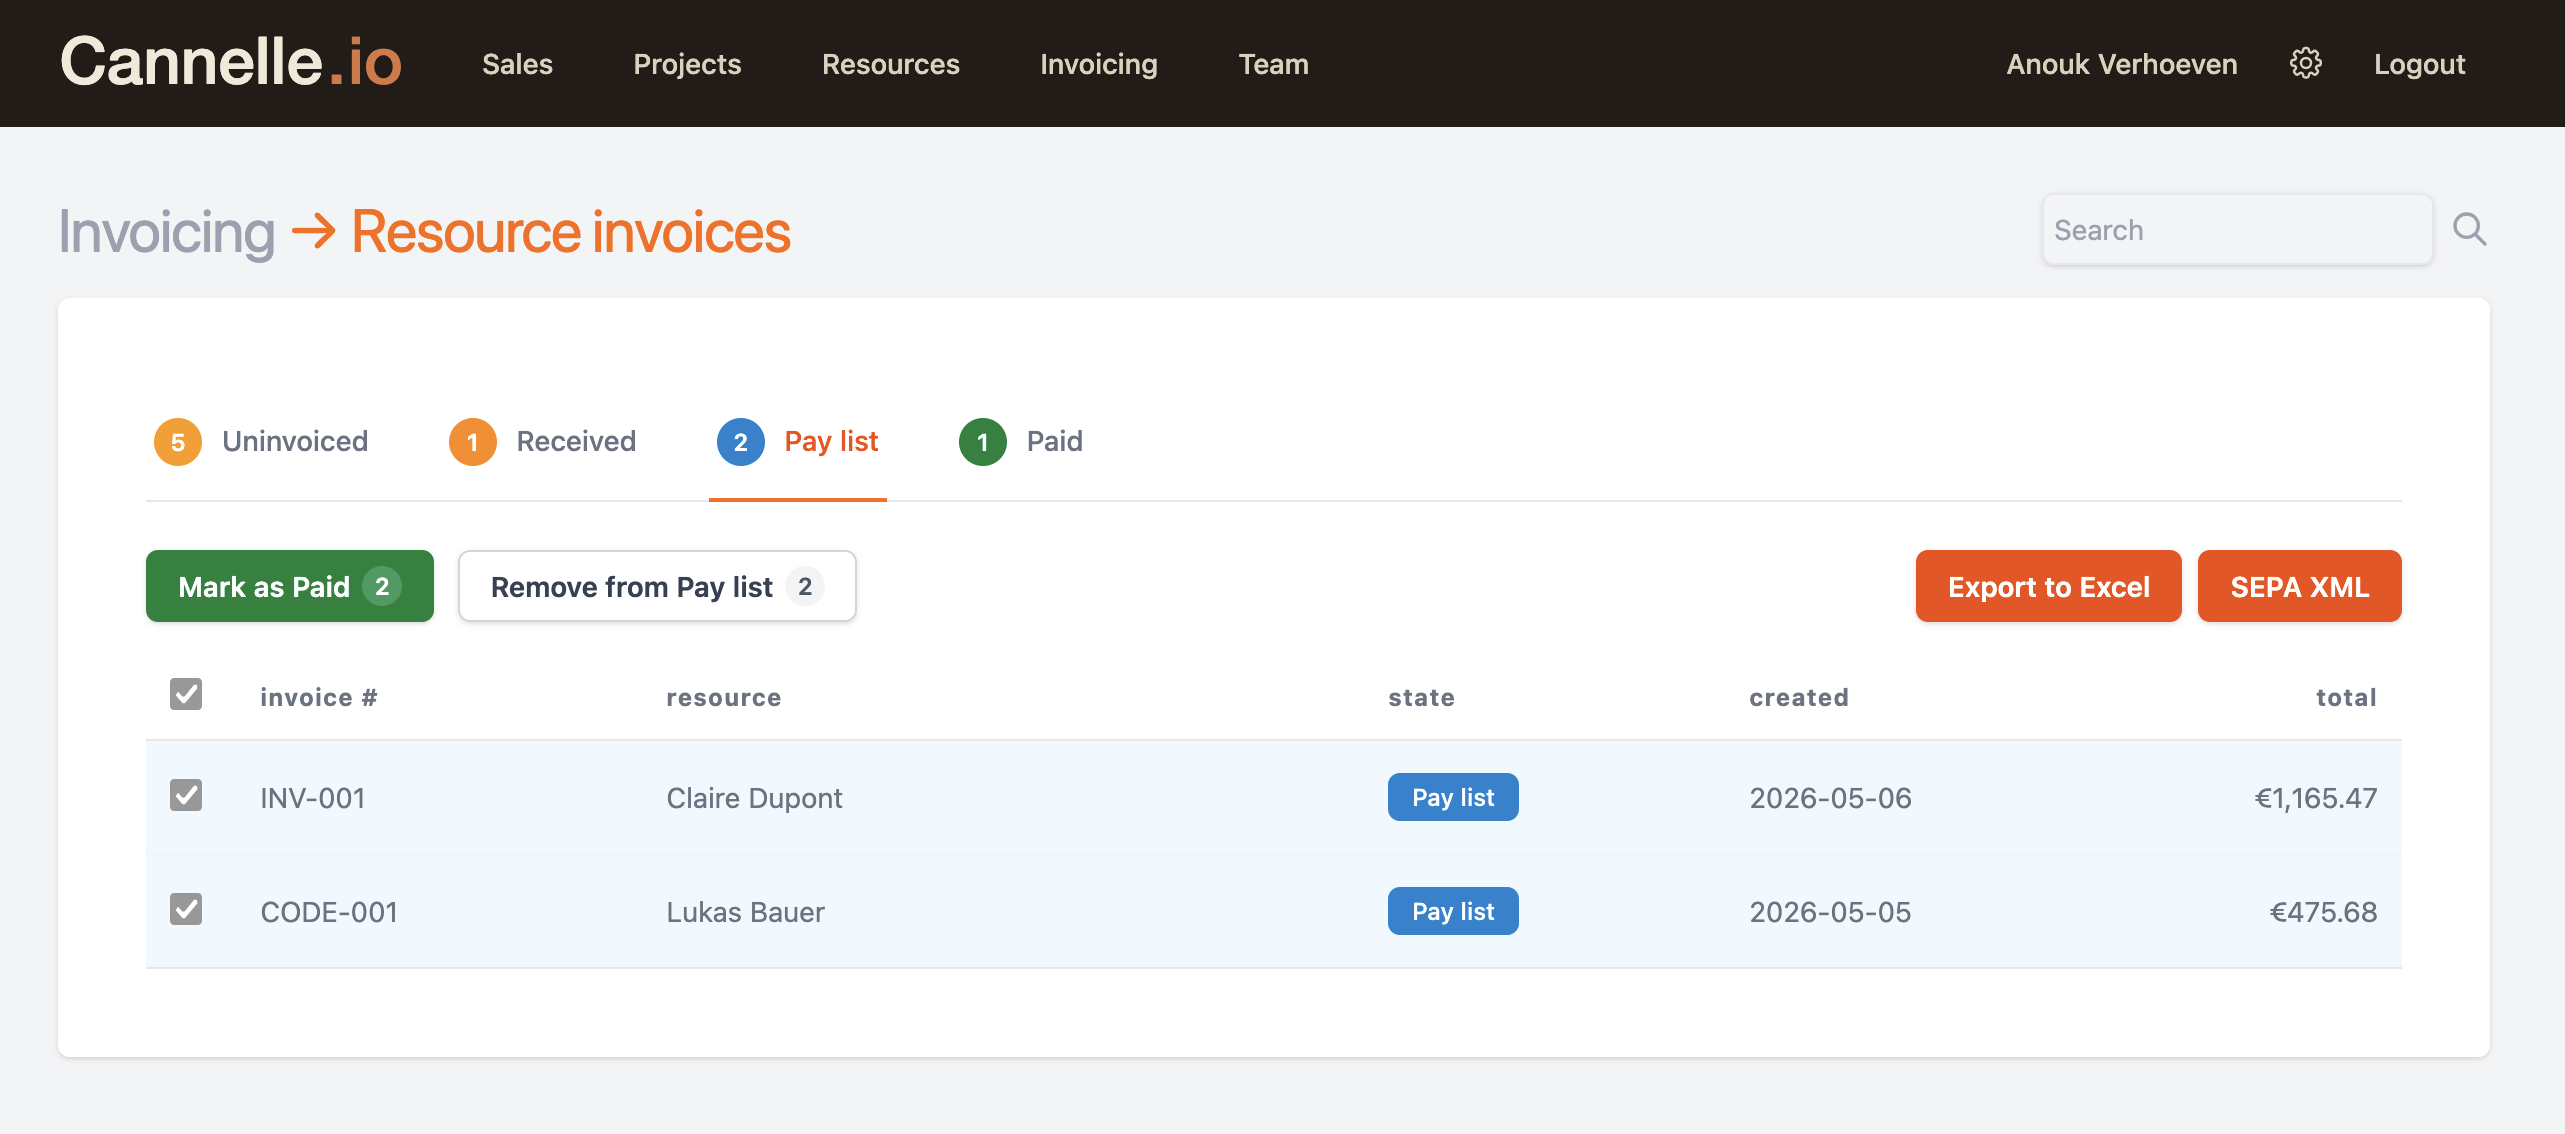
Approved invoices collect in the Pay list. This is your to-do list for payment runs — all the invoices that have been checked and are ready to go out. The list shows the resource name, the invoice reference, and the amount due.
When you are ready to process a payment run, you have two export options:
- Export to Excel — a clean spreadsheet with all the details, useful for your own records or for sending to an external accountant.
- SEPA XML — a payment batch file in the format accepted by European banks. Upload it directly to your online banking platform and all payments go out in one go.
For SEPA payments to work, each resource needs their IBAN and BIC registered in their profile in Cannelle. If a resource is missing banking details, Cannelle will flag it before you export so you can follow up before the payment run.
// good to know
You can also remove individual invoices from the Pay list if something needs re-checking before payment. They return to the Received state and can be re-approved when ready.
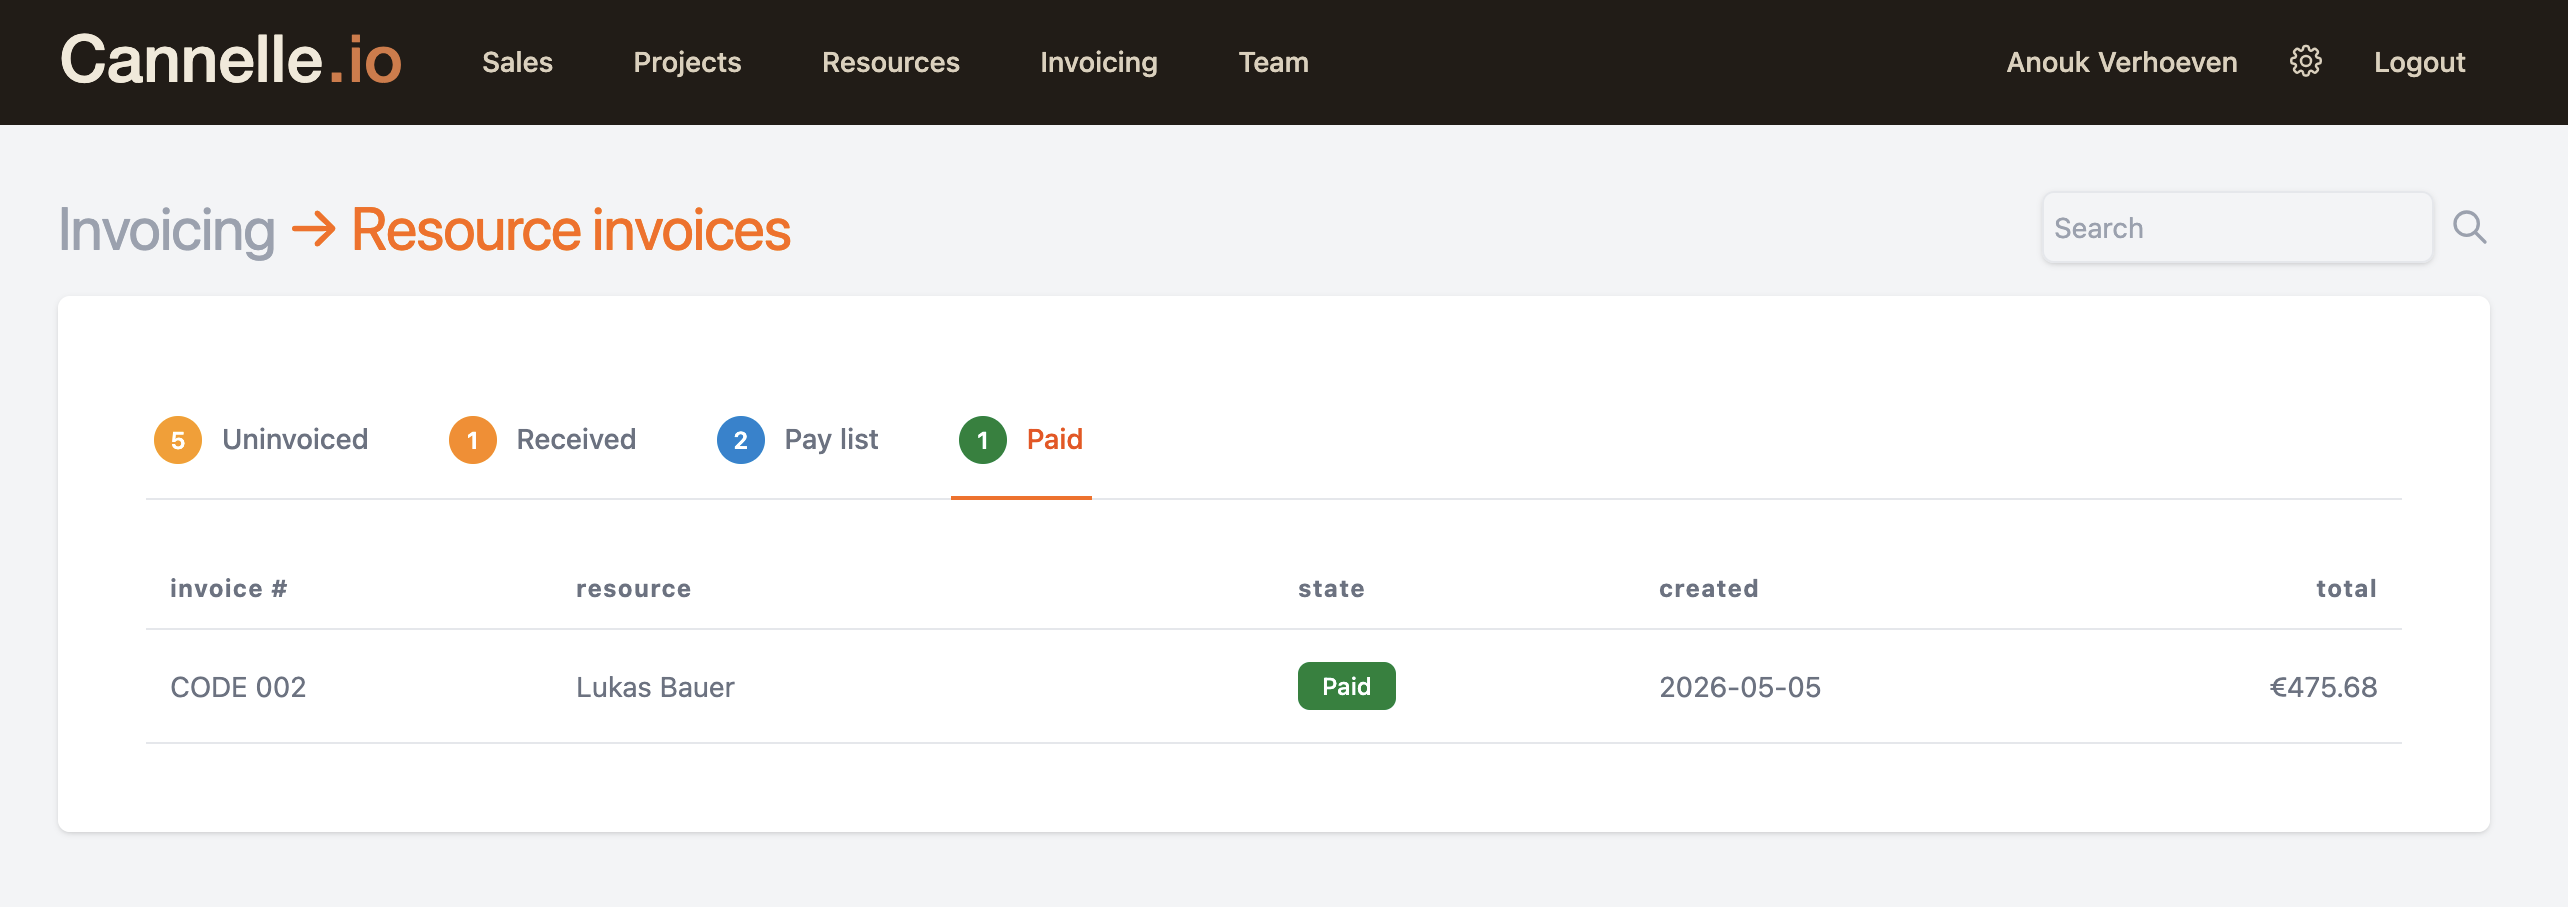
Paid
Once a payment run goes out, mark the relevant invoices as paid. They move to the Paid tab and stay there as a permanent record. You can always look up what was paid, when, and to whom — useful come audit time or when a resource asks whether their invoice has been processed.
Resources can invoice themselves
The workflow above covers the case where your team registers the invoice on behalf of the resource. But there is a second path: resources can submit their own invoices directly through Atelier, Cannelle's external portal.
When a freelancer logs in to Atelier, they see their active assignments and can create an invoice against any completed one — entering their own invoice number, amount, and tax rate. That invoice lands directly in Cannelle's Received tab, exactly as if your team had registered it manually. All you need to do is review and approve it.
This is particularly useful for long-term collaborators who prefer to handle their own admin. The approval and payment steps remain fully in your hands — you are not giving resources any access to your internal Cannelle data, just a simple self-service invoicing screen tied to their own work.
// the full picture
Whether your resources invoice through Atelier or you register their invoices manually, the rest of the workflow is identical: Received → Pay list → Paid. The only difference is where the invoice originates. Either way, nothing falls through the cracks.